Atlantis
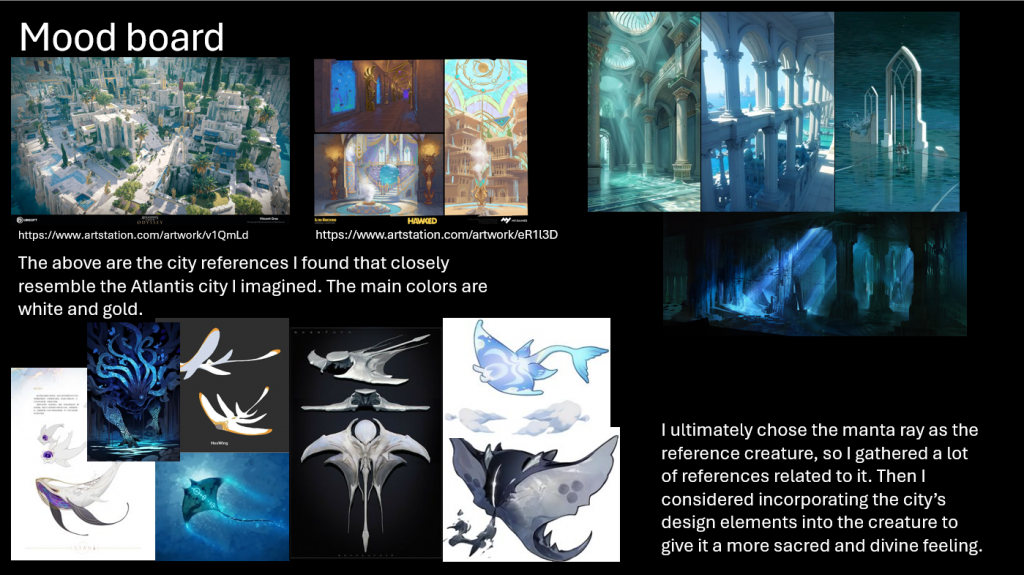
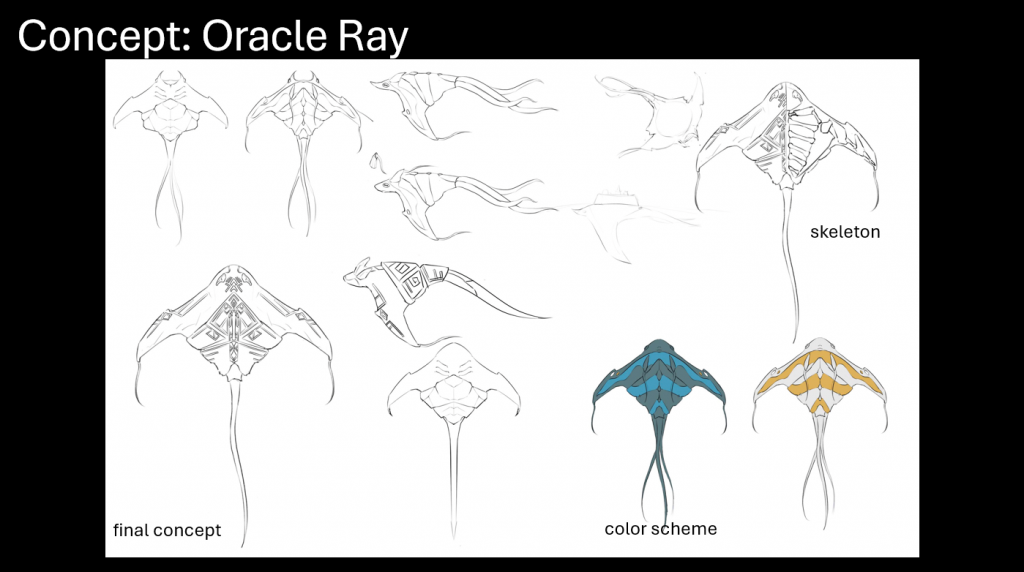
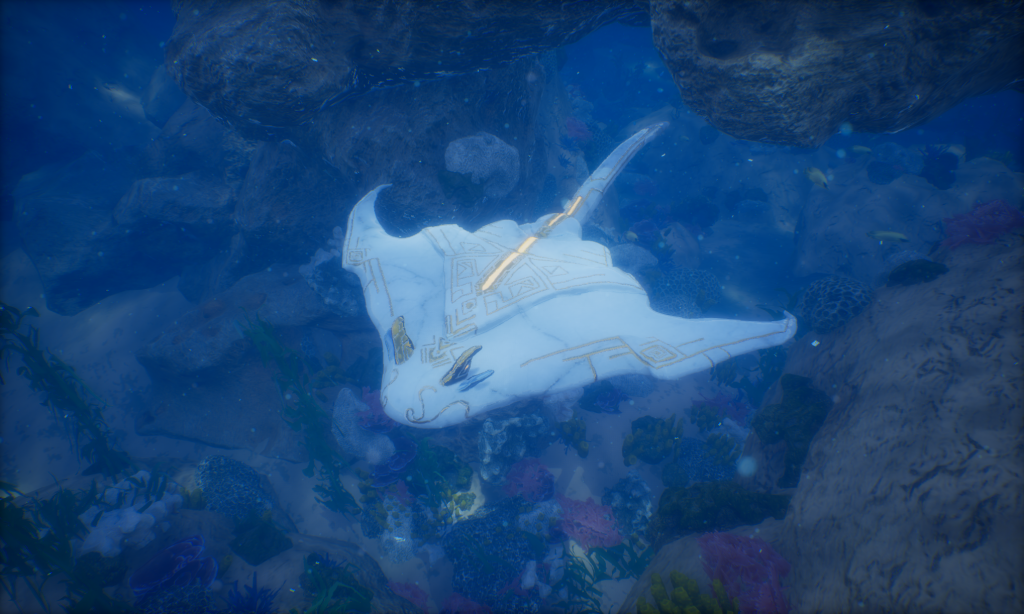
Above is my mood board and final concept design. I wanted to create a mythical creature that feels like it belongs in Atlantis, so I took inspiration from the architecture of ancient temples. While researching, I found myself drawn to details like marble textures and golden patterns, because they give the structures a strong sense of divinity and grandeur.
I decided to incorporate these elements into my ocean creature design, combining the elegance of temple architecture with the mysterious qualities of marine life, so that the creature would feel both sacred and otherworldly.
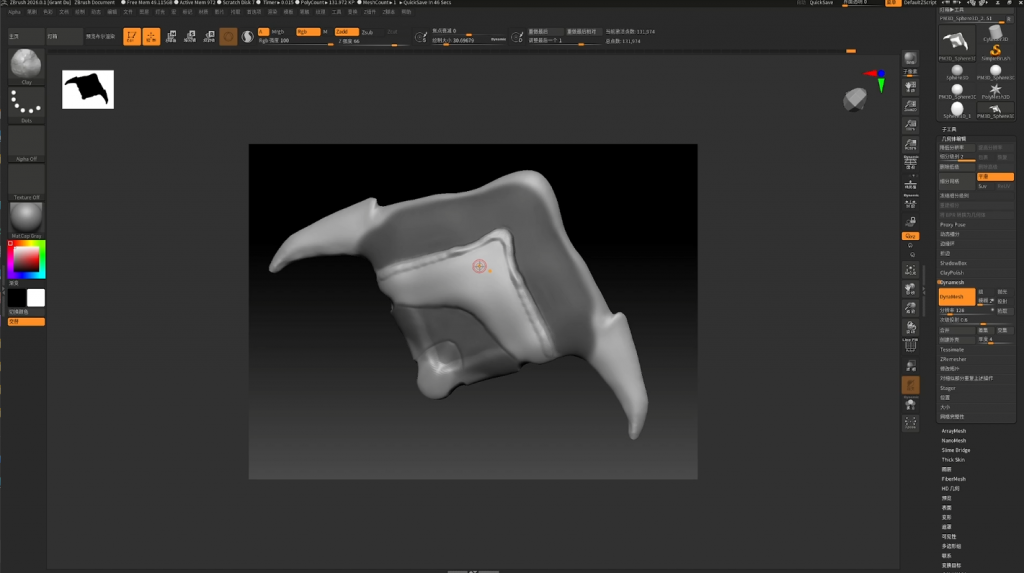
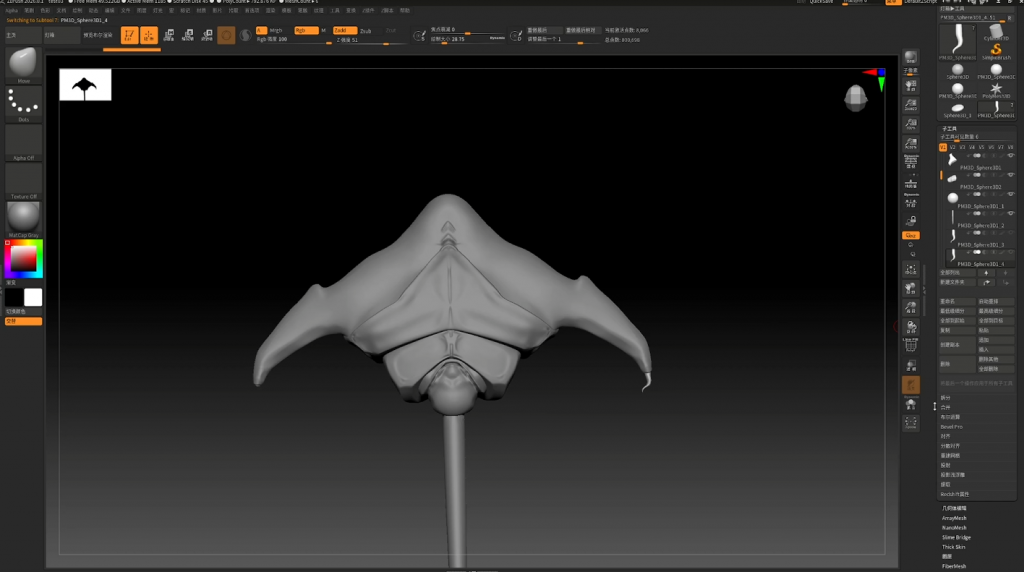
Sculpting Process in ZBrush
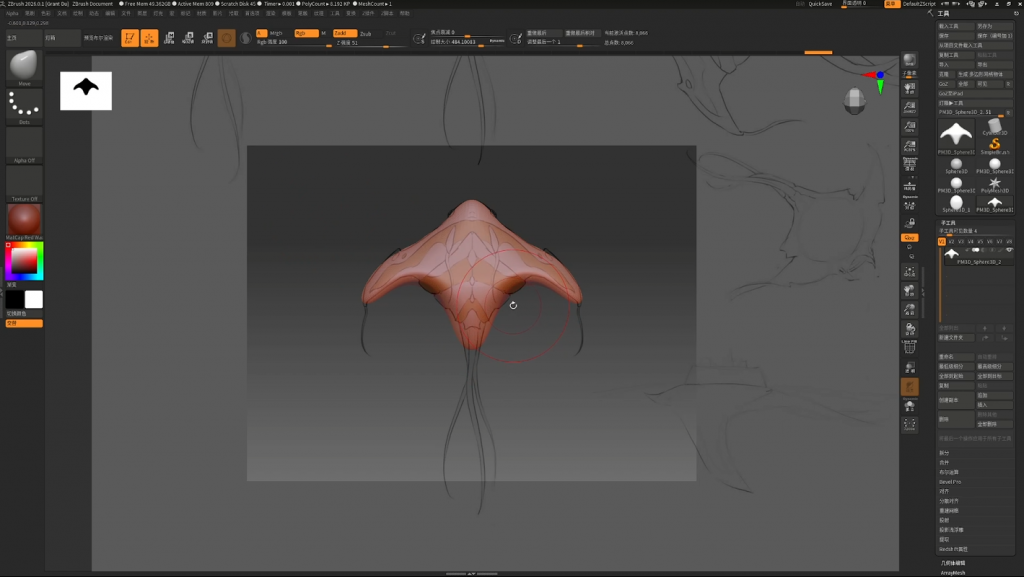
I started by importing reference images to build the basic shape of the model.Since I hadn’t created any other models in ZBrush before, I learned the basic functions and workflow of the software while developing my own design.
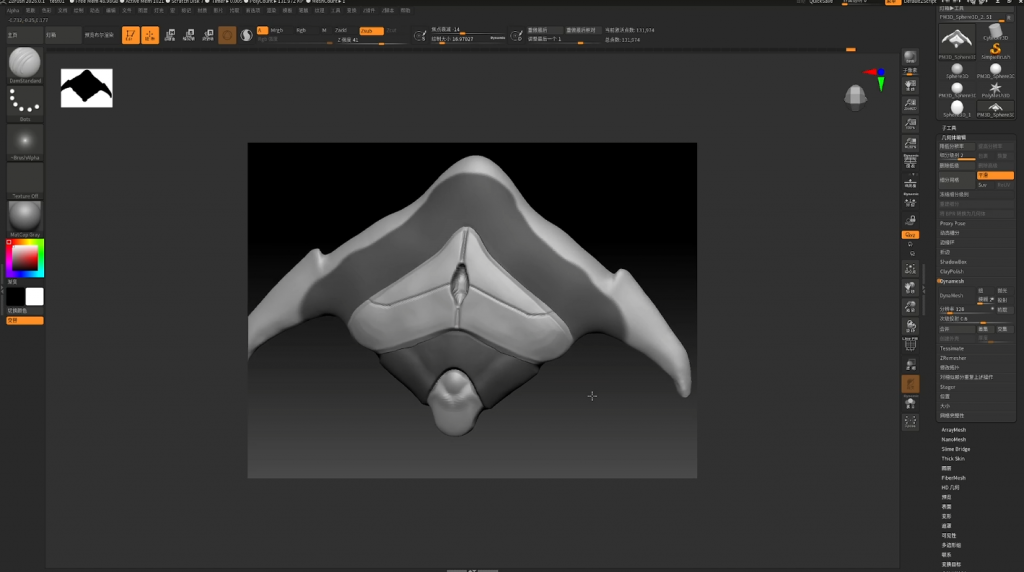
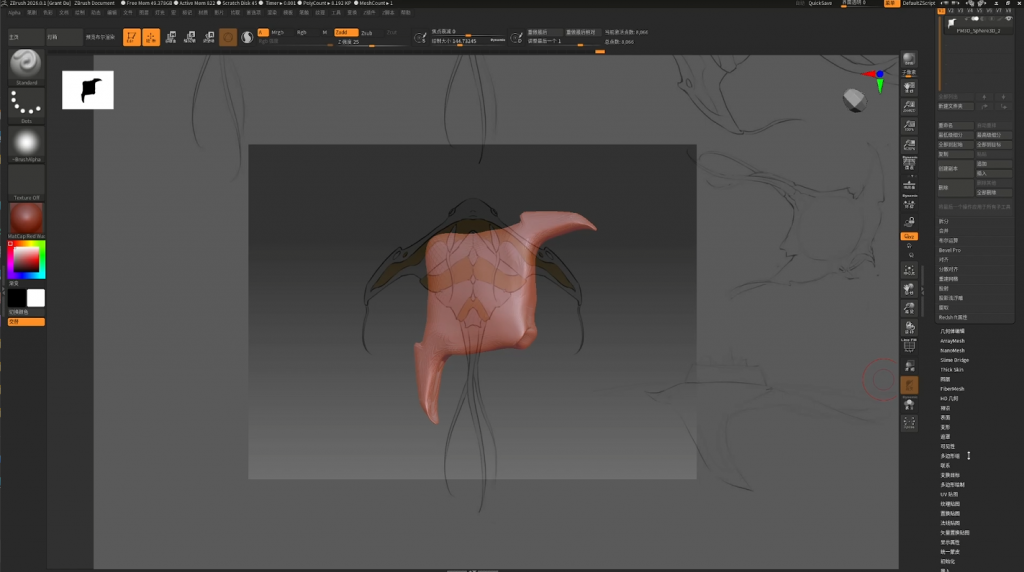
I learned how to use masking, which allowed me to sculpt certain parts of the model without affecting the masked areas.I used this technique to create the armor-like parts of my design.
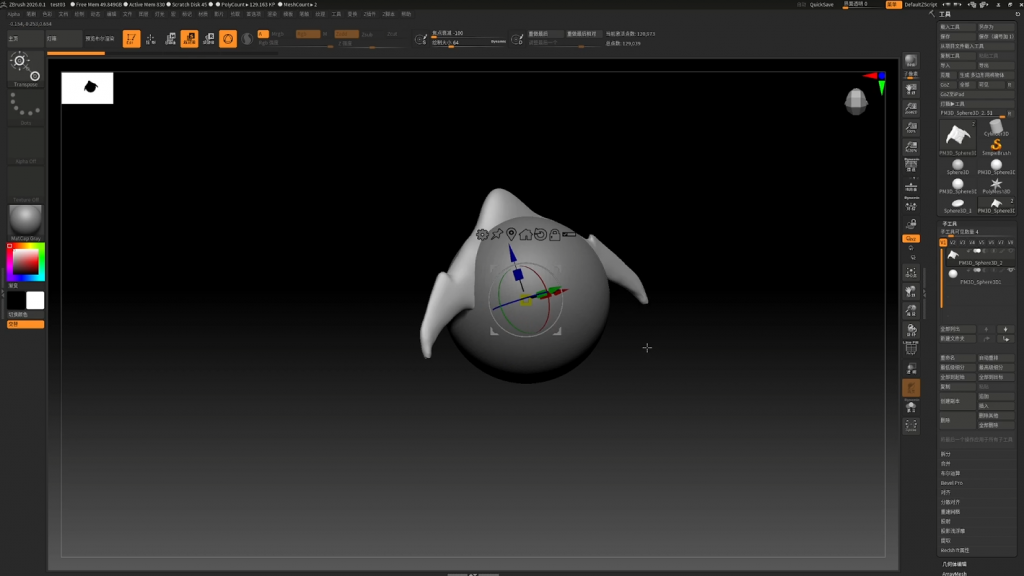
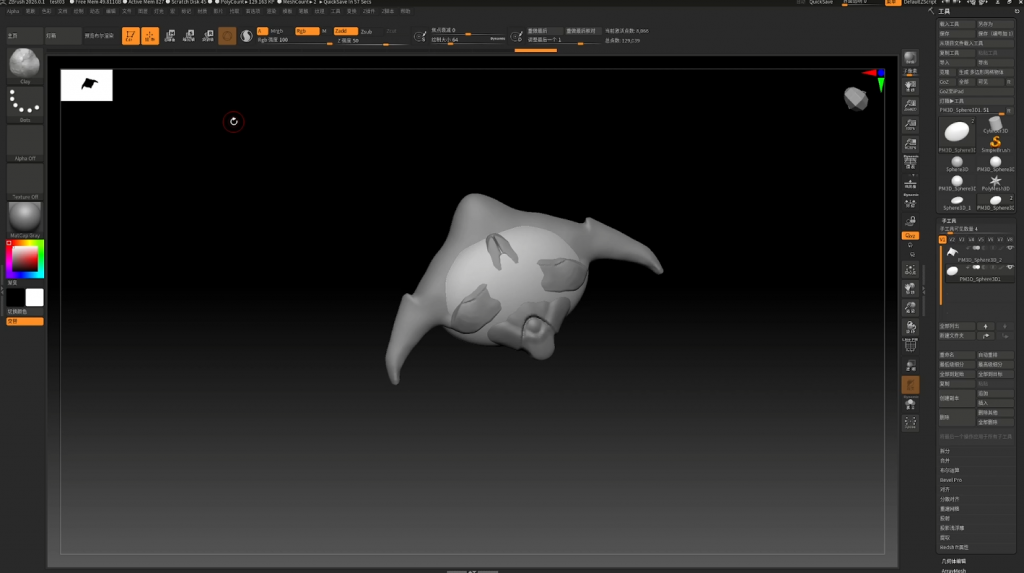
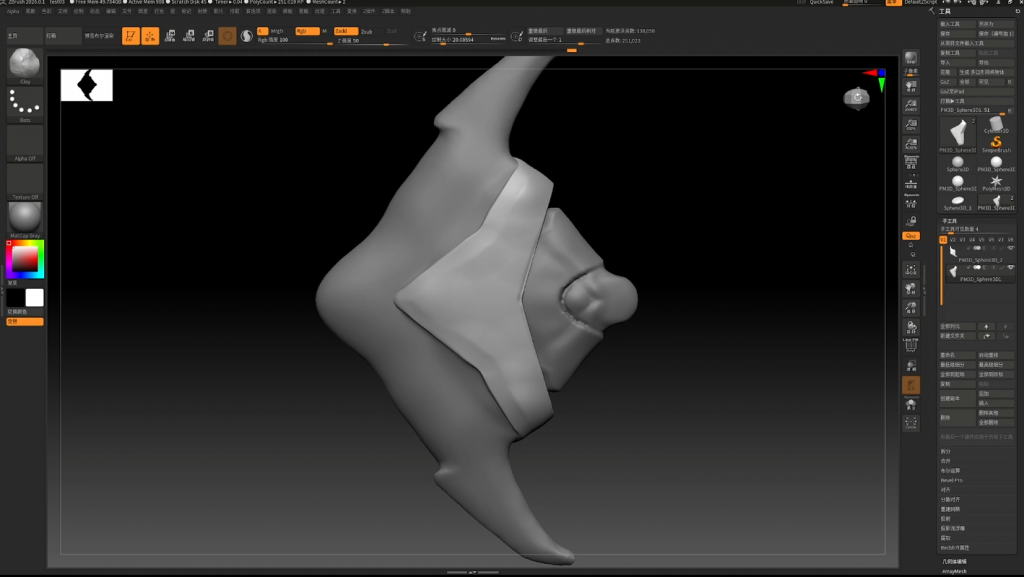
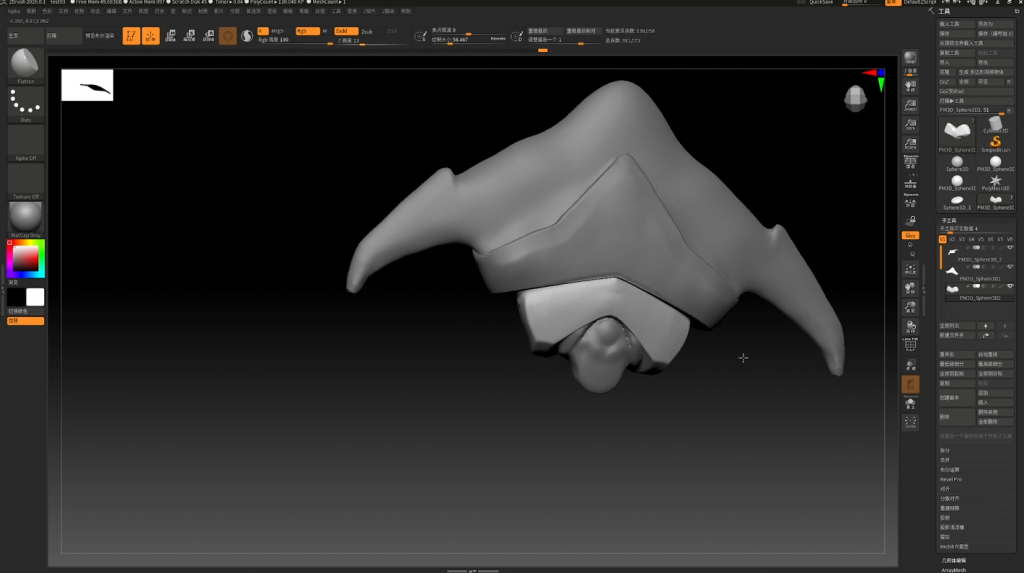
Later on, I discovered a better method by separating the model into different parts during the sculpting process, and the results turned out quite well.
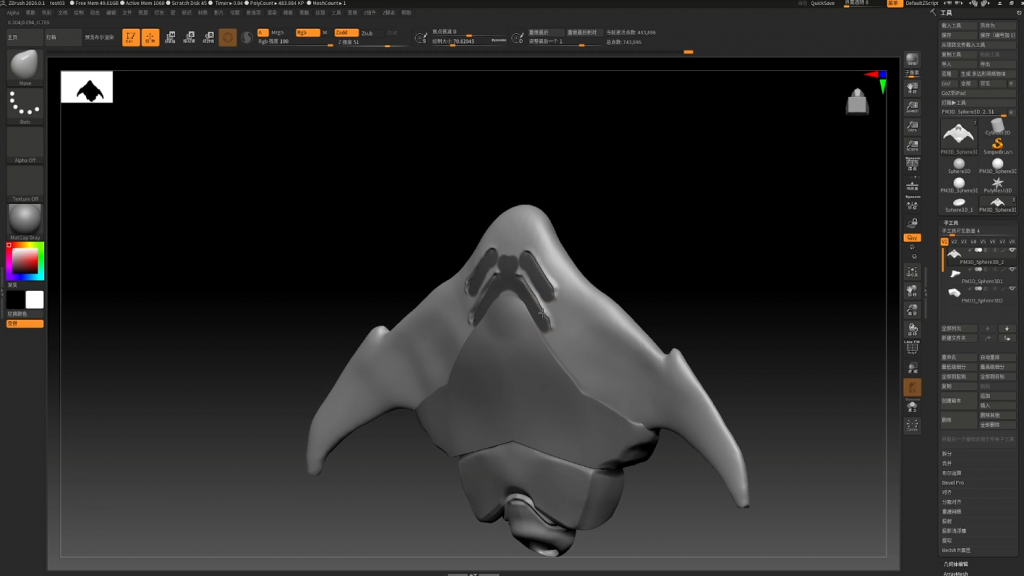
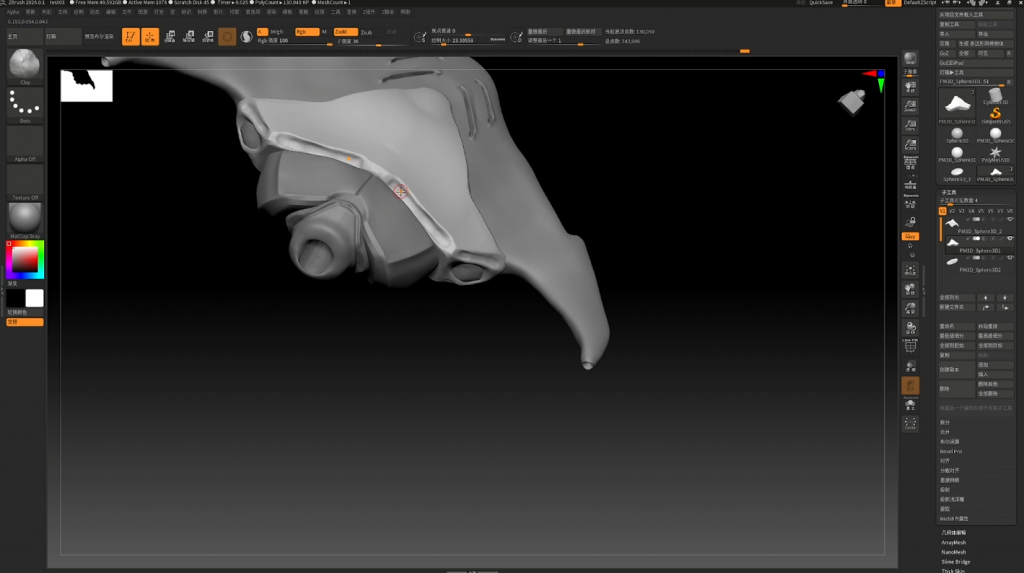
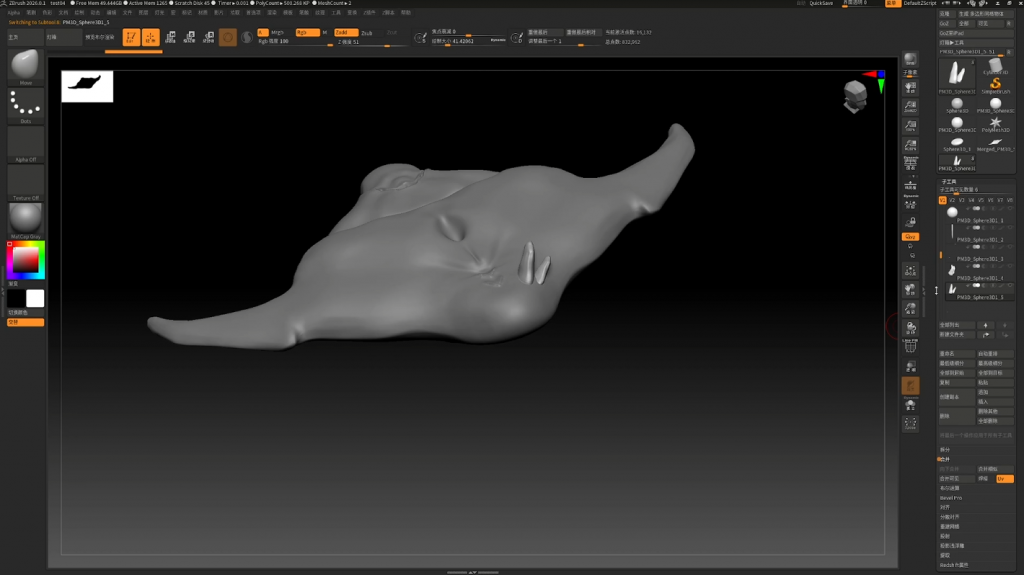
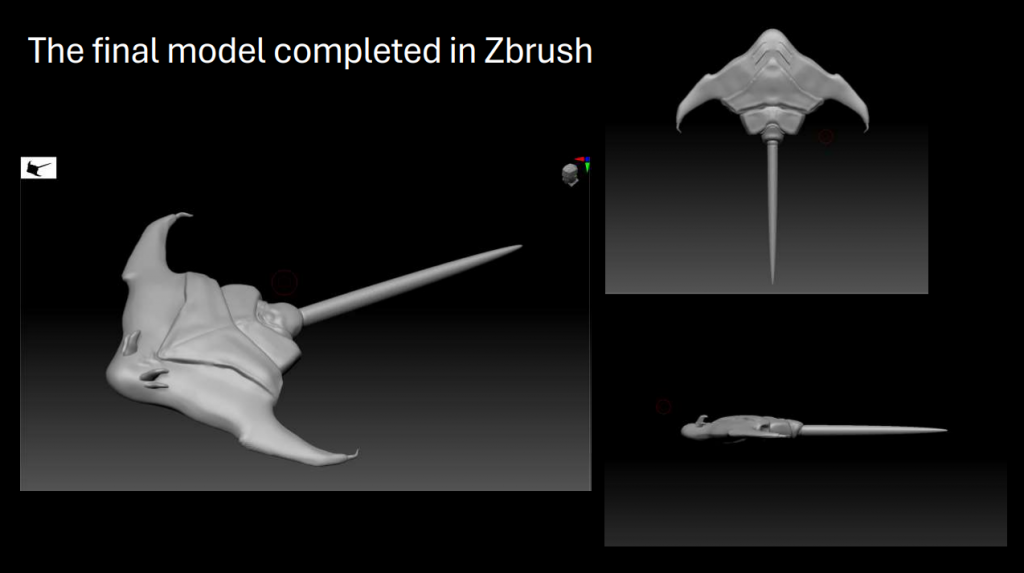
Above are some of the later detailing and sculpting processes, as well as the final completed model.
Texturing Process in Substance 3D Painter
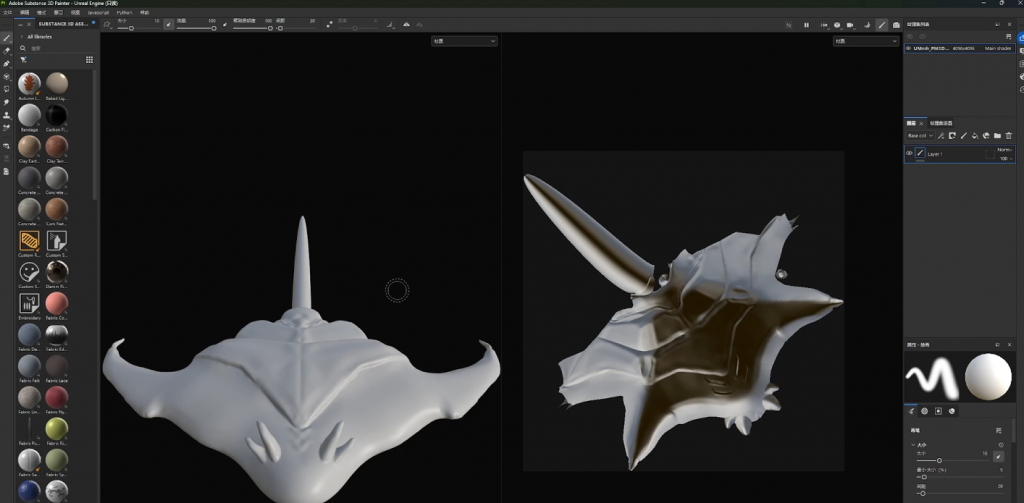
First, I worked on fixing some UV mapping issues, although I didn’t record that part of the process. During this stage, I learned how to unwrap the UVs in ZBrush into a more complete and continuous surface instead of separating them into too many individual pieces. If the UVs are split into many sections, it can cause a lot of problems later when painting textures and materials.
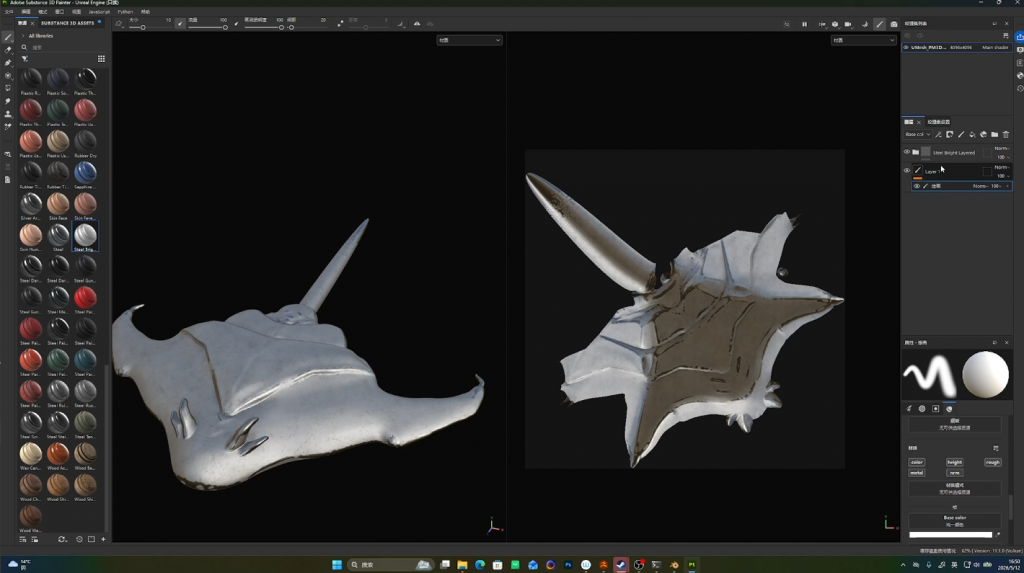
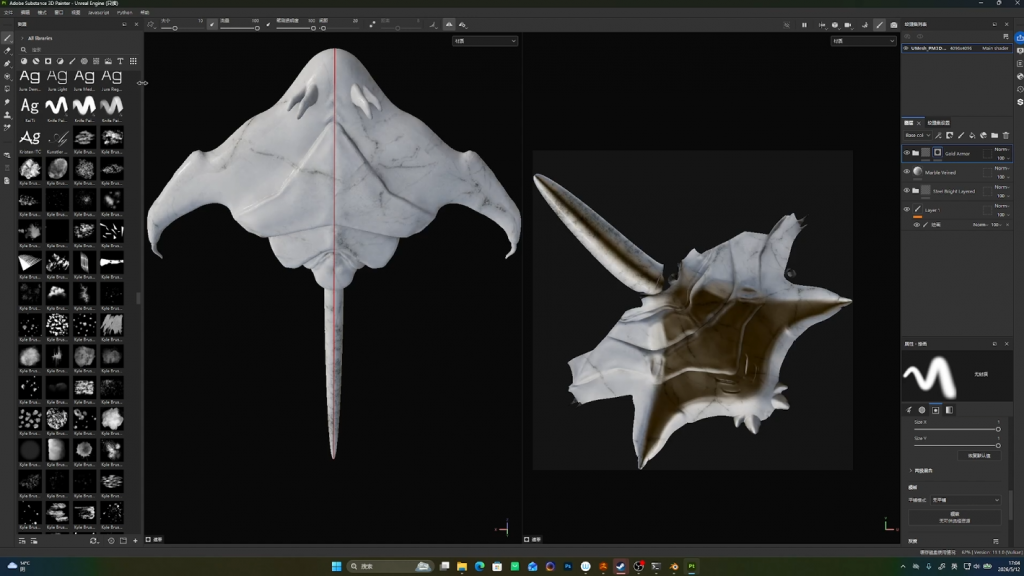
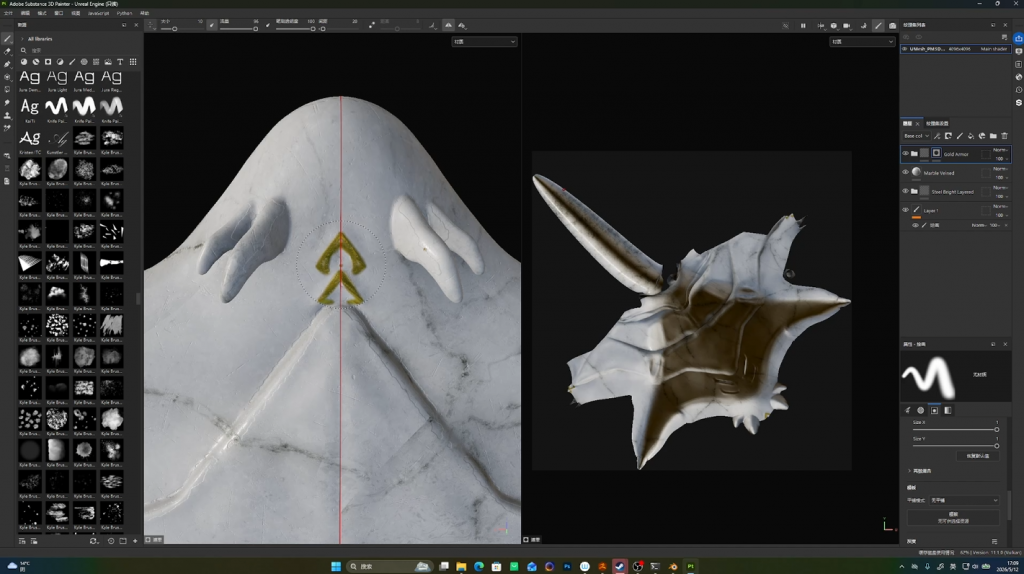
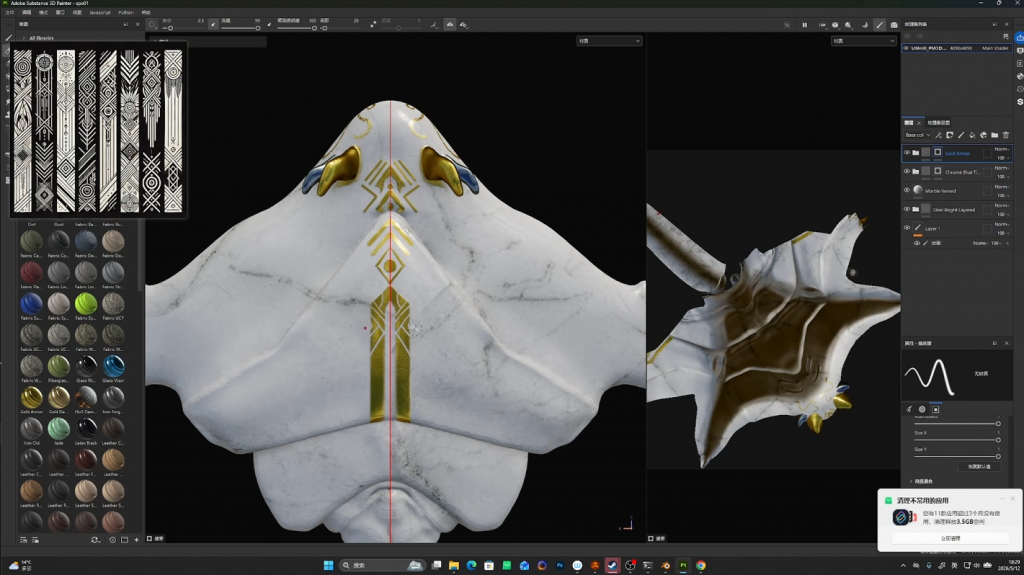
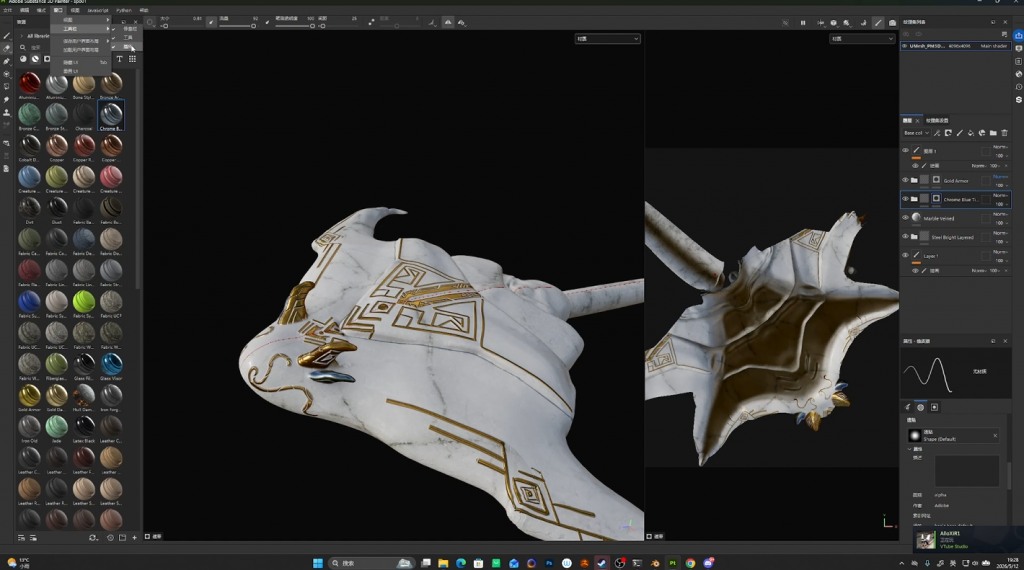
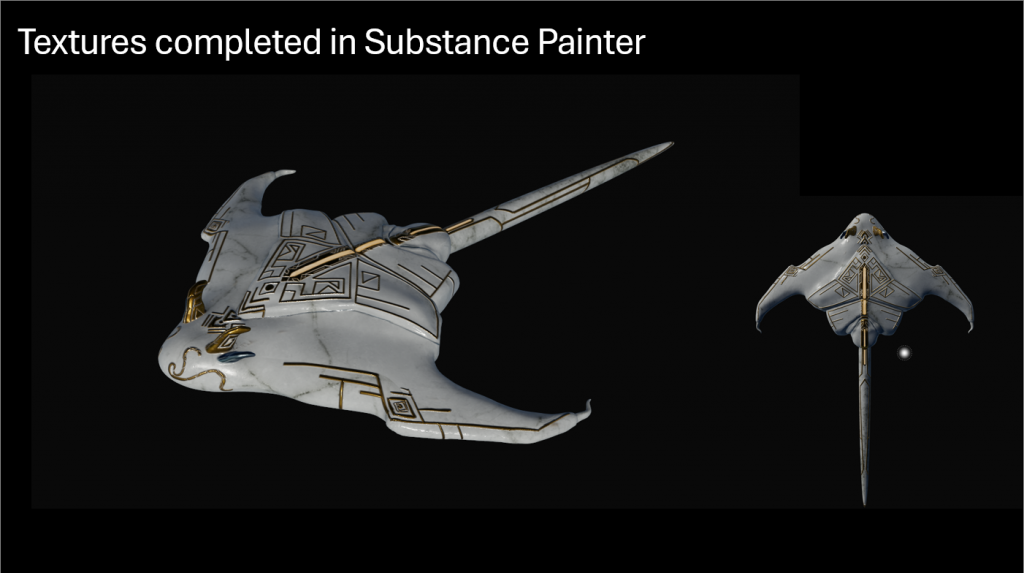
During the texturing process, I first applied two default materials provided in Substance 3D Painter to create a base for the model, which helped me achieve the marble-like surface texture. After that, I started painting the golden patterns on top of the base material to match the visual style I wanted.
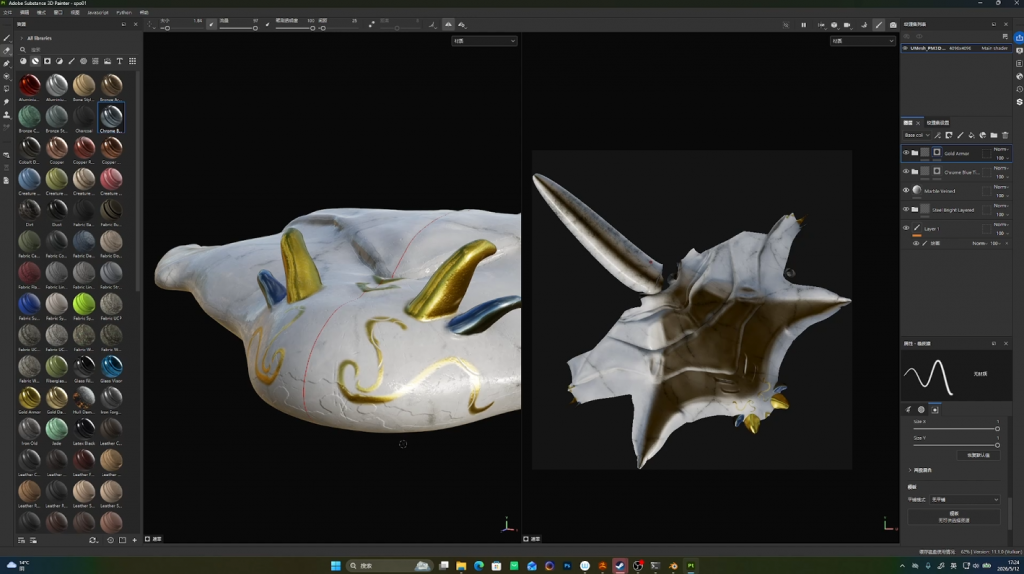
Throughout the process, I experimented with different color variations and learned how to create depth and surface relief in the textures, which made the details feel more dimensional and realistic.
Creating the Final Animation in Maya
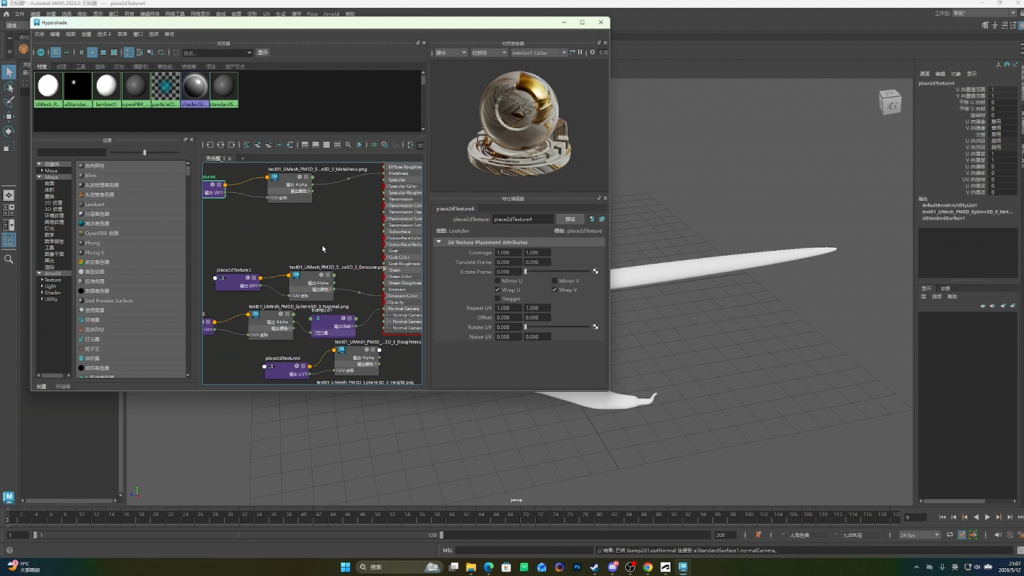

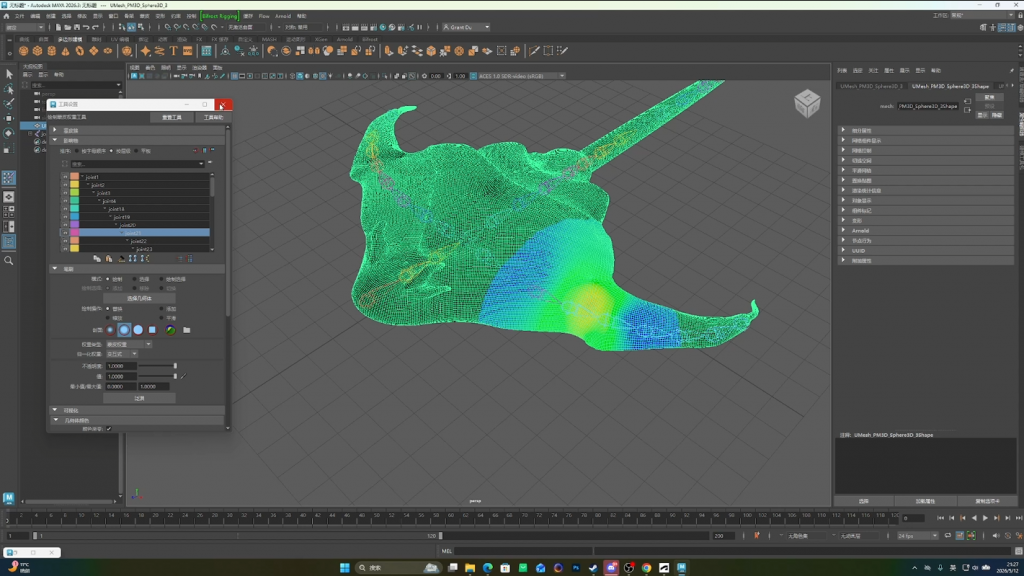
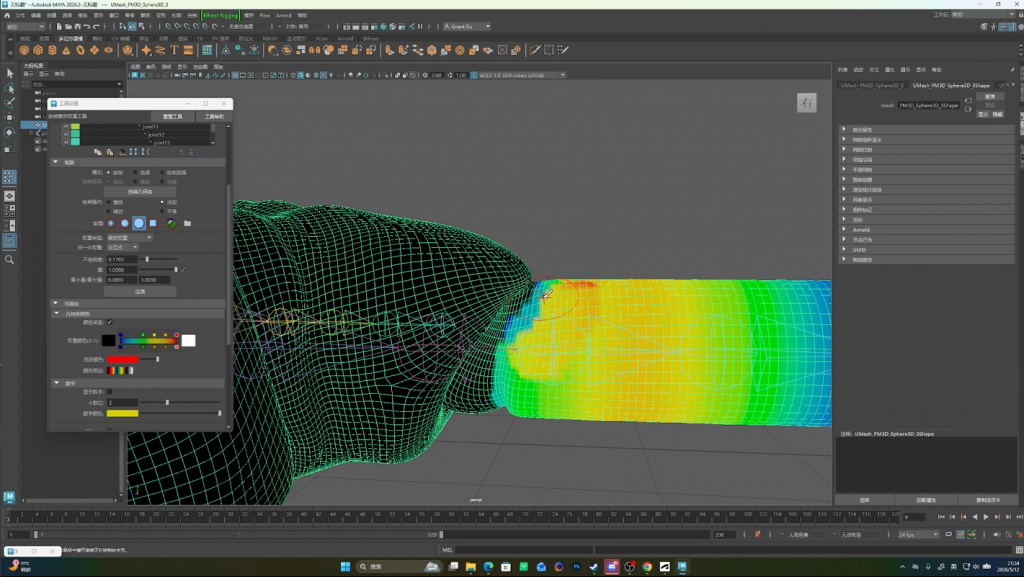
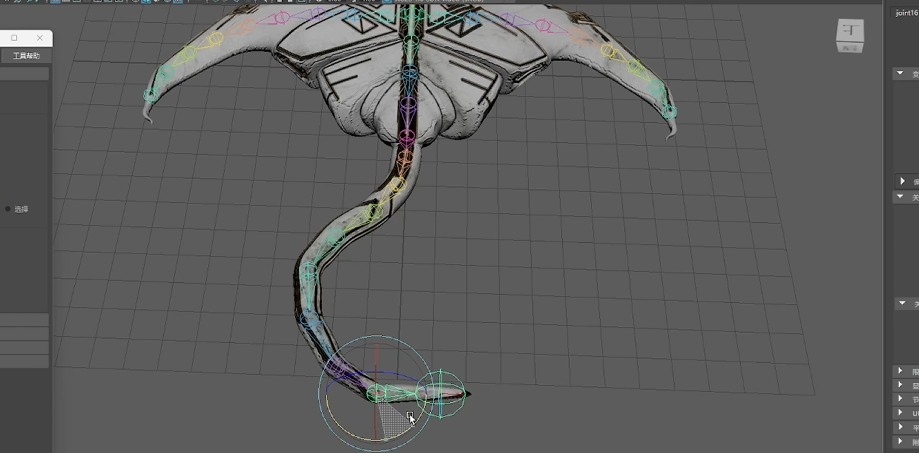
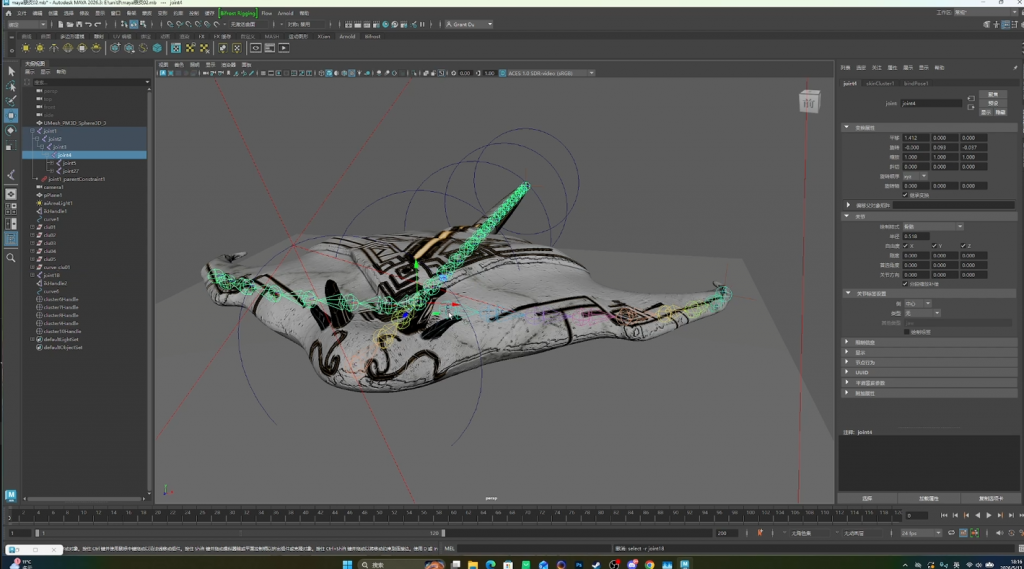
This was my first time applying materials and rigging a model in Autodesk Maya. I also created basic controllers to animate the character, allowing it to move for the final animation. However, I realized that using simple controllers made certain parts, such as the tail, move in an unnatural and awkward way.The movement looked unnatural and segmented, especially in areas like the tail, where the motion appeared stiff and disconnected.
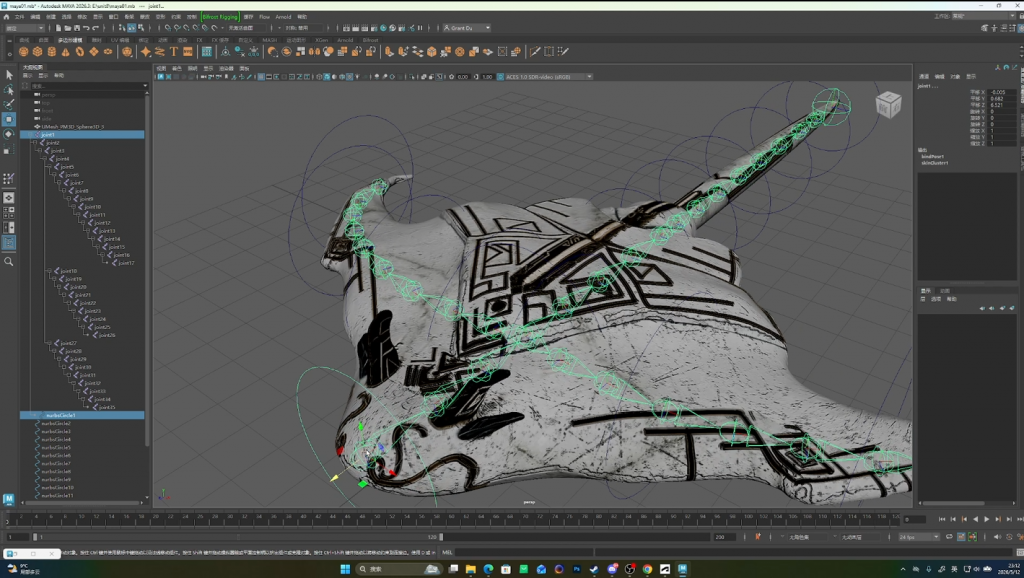
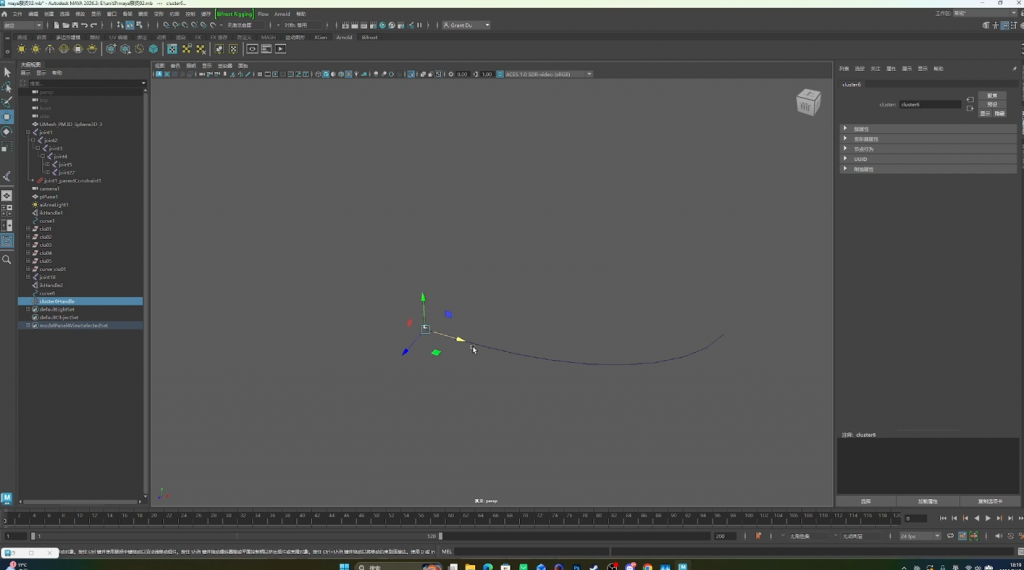
So I experimented with a different rigging method by using curve controllers, which helped create smoother and more natural movement for the model.
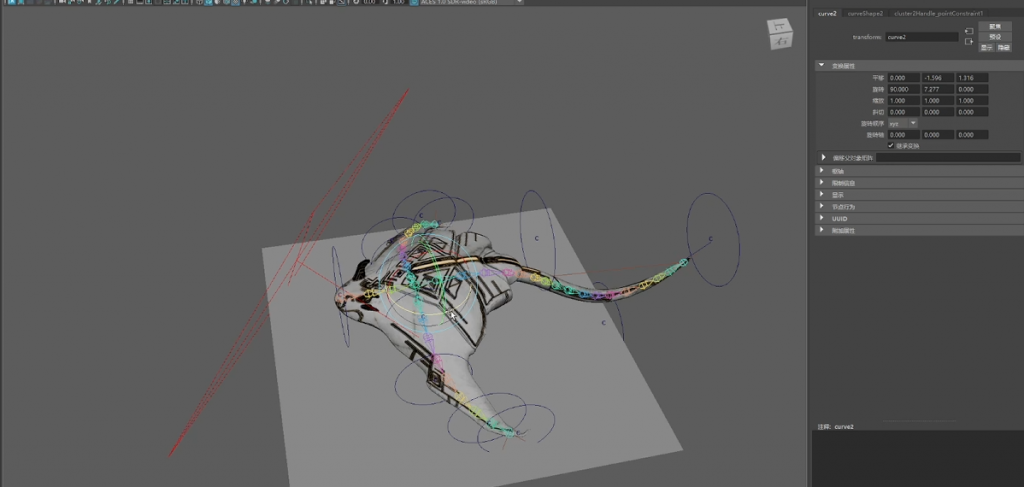
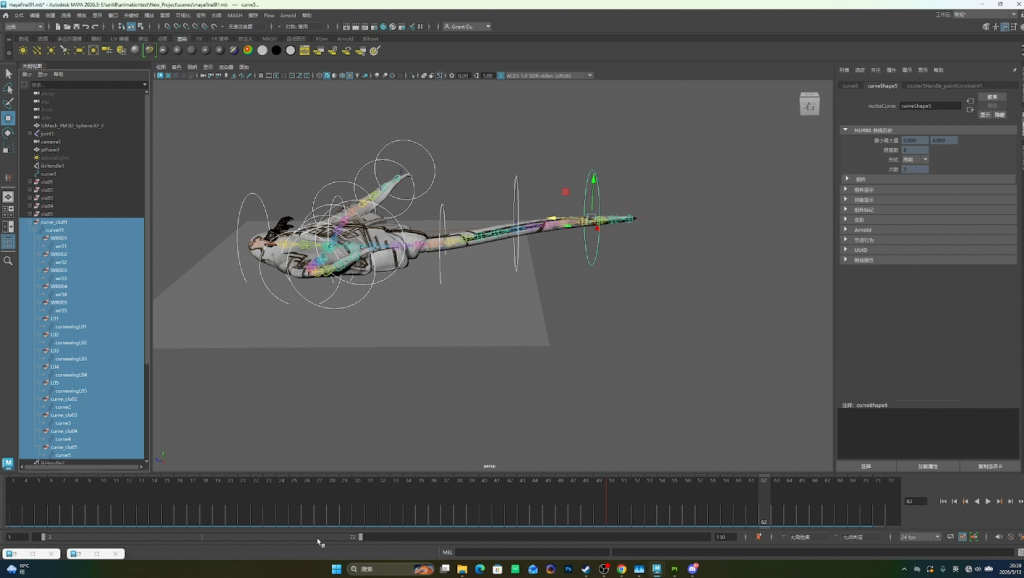
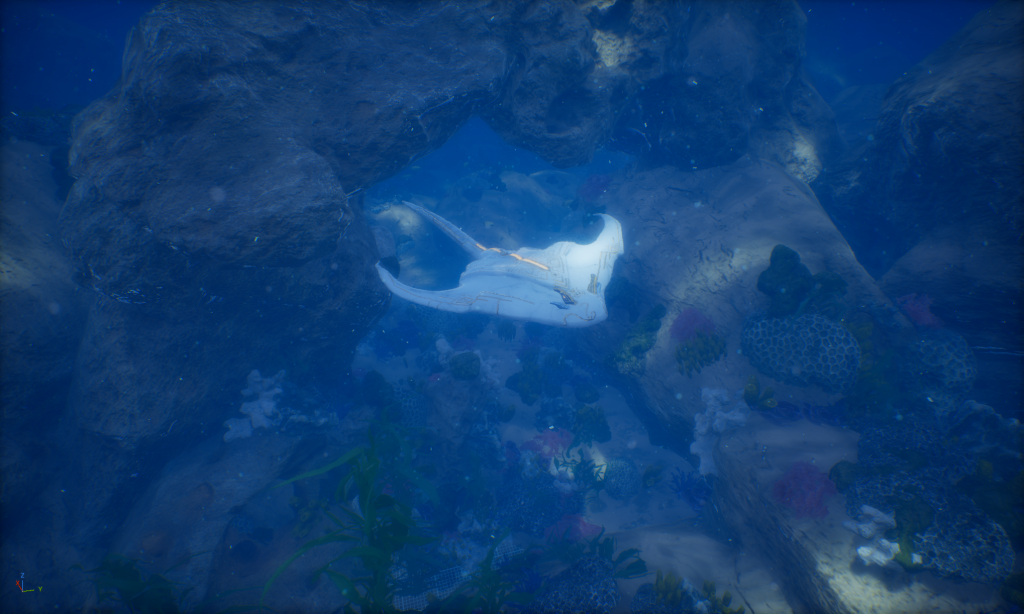
This was the result of using the curve controllers, and the movement became much smoother and more fluid. After that, I completed the final animation and imported the model into Unreal Engine to test and view the final result.
In the end, there were still some material issues in Autodesk Maya that I haven’t fully resolved yet, so I plan to continue researching and experimenting with solutions in the future.
Leave a Reply